






Boost Your Ubuntu Productivity: The Ultimate Guide to Bash Aliases
Bash aliases – If you spend any amount of time in the Ubuntu terminal, you’ve probably noticed how repetitive certain commands can be. Long command chains, deep directory paths, and complex options all slow you down — and increase the chance of typos.
That’s where Bash aliases come in.
In this comprehensive Linux tutorial, you’ll learn exactly what aliases are, why they dramatically improve your developer workflow, and how to set them up safely in Ubuntu Linux.
What Is a Bash Aliases?
A Bash alias is essentially a custom shortcut for a longer command-line instruction. It allows you to replace complex or repetitive terminal inputs with a short, easy-to-remember word.
For example, instead of typing this every time you want to update your system:
Bash
sudo apt-get update && sudo apt-get upgrade
You could simply type:
Bash
update
Because aliases are handled directly by the Linux shell, they are instant, lightweight, and require no extra software or system resources.
Why You Should Use bash aliases in Ubuntu
1. Save Time and Keystrokes
Even small shortcuts add up. If you use the command line interface (CLI) daily, implementing terminal shortcuts can save you thousands of keystrokes per week.
- Shorten package manager updates (
apt-get) - Simplify complex Git commands
- Jump instantly to frequently used directories
2. Reduce Errors and Typos
Long commands and absolute file paths are highly error-prone. Instead of manually typing out a deep directory like:
Bash
/var/www/html/my-project/public
You can create a simple environmental shortcut like web. This reduces frustrating syntax errors and keeps your workflow consistent.
3. Customize the Linux Terminal to Your Workflow
Aliases let you tailor your operating system environment to your exact needs. You can map commands to names that make sense to you and standardize your environment across multiple machines. Once you get used to a customized shell script environment, working without it feels incredibly slow.
How to Create bash Aliases in Ubuntu (Step-by-Step)
Setting up permanent aliases in Ubuntu Linux is a simple and safe process. Follow these steps to edit your configuration file.
Step 1: Open Your Ubuntu Terminal
Open your terminal window by using the keyboard shortcut:
Ctrl + Alt + T
Step 2: Open the Bash Configuration File
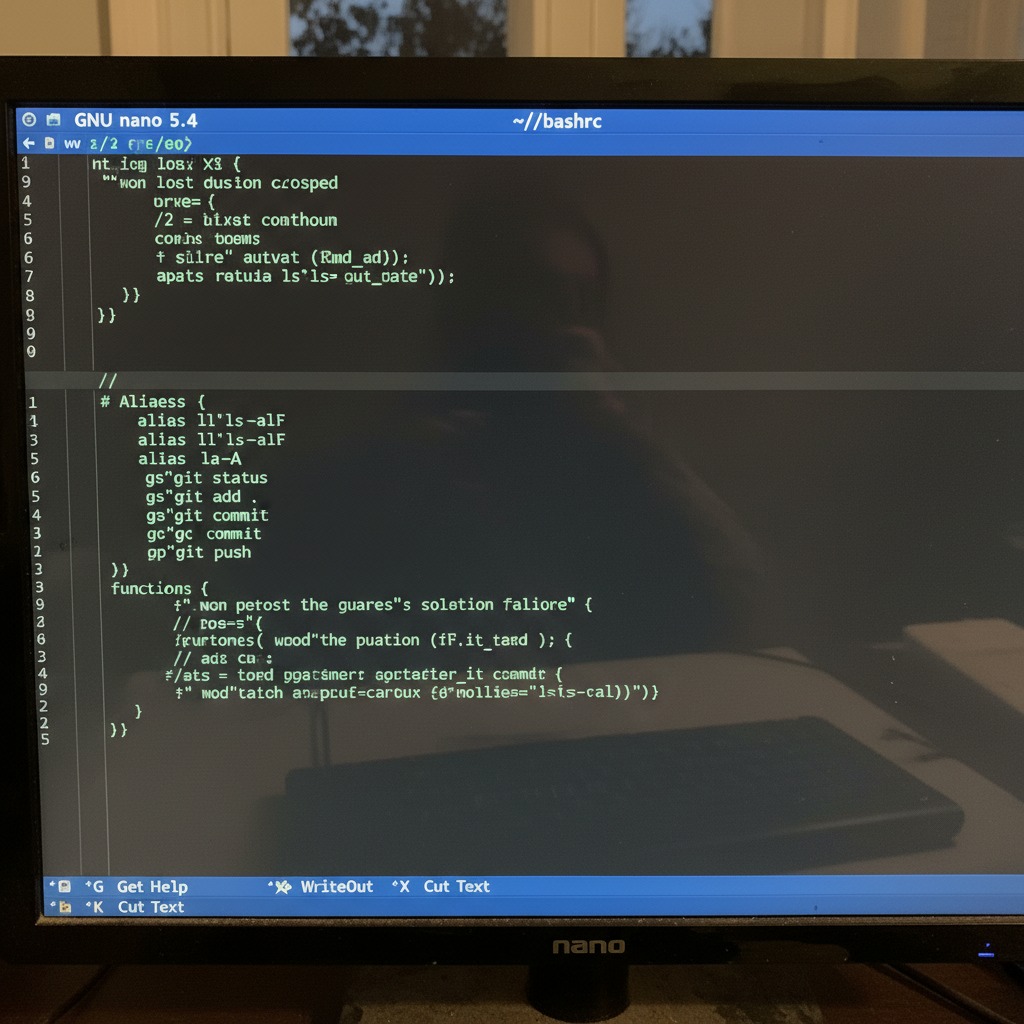
We will use the Nano text editor to open the hidden .bashrc file located in your home directory:
Bash
nano ~/.bashrc
Step 3: Add Your Custom Alias
Scroll down to the very bottom of the file and add your new alias. Use the following syntax:
Bash
alias gs='git status'
Note: Make sure there are no spaces around the = sign. You can add as many aliases as you like, just place each one on a new line.
Step 4: Save and Reload the File
In Nano, press Ctrl + O then Enter to save, and Ctrl + X to exit. To apply the changes immediately without restarting your terminal, run the source command:
Bash
source ~/.bashrc
Now, simply typing gs will instantly execute git status.
Useful Bash Alias Examples for Everyday Use
Here are some of the most popular and safe Ubuntu terminal commands to add to your .bashrc file right away:
Bash
# System Updates
alias update='sudo apt update && sudo apt upgrade'

# Navigation & Directory Listing
alias ll='ls -lah'
alias home='cd ~'

# Clear Screen
alias cls='clear'
Best Practices: Avoid These Common Alias Mistakes
Before you go crazy creating shortcuts, keep these important safety tips in mind:
- ⚠️ Aliases are shell-specific: Aliases defined in
.bashrconly work in the Bash shell. If you switch to Zsh or Fish, you will need to configure their respective config files (e.g.,.zshrc). - ⚠️ They do not work in automation scripts: Bash aliases are meant for interactive use in the terminal, not inside executable shell scripts.
- ⚠️ Don’t overwrite critical system commands: Avoid naming your aliases after core commands like
rm,cp, ormvunless you are explicitly adding a safety flag (likealias rm='rm -i').
Video Tutorial: See Bash Aliases in Action
Want a visual guide on how to configure your terminal? Check out this excellent YouTube video about aliases to see the setup process step-by-step:
▶️ Watch the Bash Alias Tutorial on YouTube (Indsæt det præcise link her)
For more high-quality Linux tutorials and guides for beginners, make sure to visit the gowithlinux Startpage (Indsæt korrekt URL her).
FAQ: Frequently Asked Questions
Are aliases only for advanced Linux users?
No! In fact, aliases are incredibly helpful for beginners because they eliminate the need to memorize long, complex syntax.
Will aliases slow down my Ubuntu system?
Not at all. They are parsed instantly by the shell when it loads, meaning they have zero impact on system performance.
How do I remove or temporary disable an alias?
To remove it permanently, just delete the line from your .bashrc file and run source ~/.bashrc. To disable an alias temporarily in your current session, use the command unalias my_alias_name.
Conclusion
Mastering Bash aliases is one of the easiest and most effective ways to boost your productivity in Ubuntu. They save time, eliminate typos, and let you shape the command line around your personal workflow.
Start by adding three or four shortcuts today, and you’ll quickly wonder how you ever managed without them!